Complements of Dakota Doc Martin, SASS #21774
Dakota Doc Martin's Page
For additional info on tuning the Stoeger, take a look at
Info from Black Hills Blacky and others
and:
More Hints from the SASS Wire
Editorial note: This is information only about what a few cowboys found worked for them. If you do not feel comfortable working on your gun and assuming liability, please go to a good gunsmith and let them tune your gun.
I bought my son a Stoeger Silverado Coach Gun with the English straight stock for Christmas. We were both pretty much taken aback by the lowered quality standards since mine was made back in 1995. Apparently, the shotgun metal was fit and then sent to the plater and then reassembled by force. We literally had to break it open over a knee it was that stiff. They didn't take into account that the plating would make the parts grow some. Besides that, the opening lever was so stiffly sprung that it would leave an imprint in my thumb. Definitely, it was not a SASS competition shotgun out of the box!
I removed the butt stock by first removing the butt plate and then removing the bolt with a long heavy duty flat blade screwdriver. The butt stock just slips off the action by gently pulling rearward. I used a pair of needle nose pliers and I carefully pulled back on the metal pin that the lever/latch spring is mounted on. The forward end sits in a small hole and just needs to be pulled back and off to the side to remove it. See the photo:
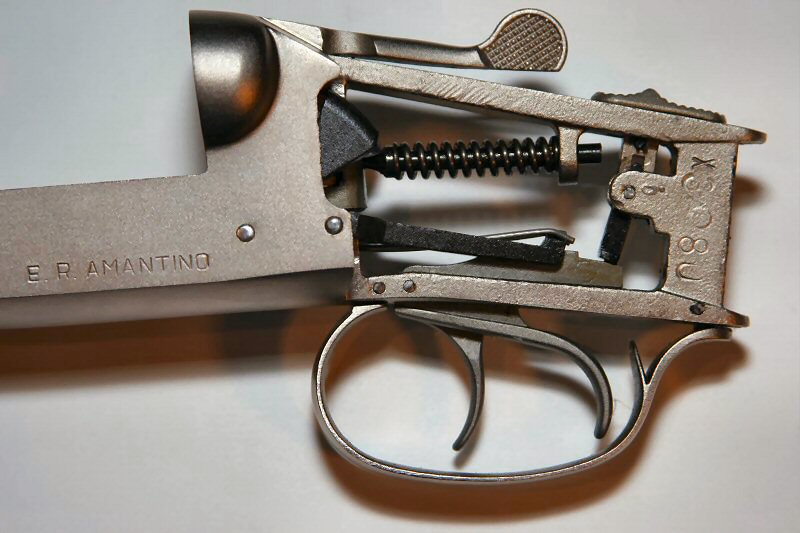
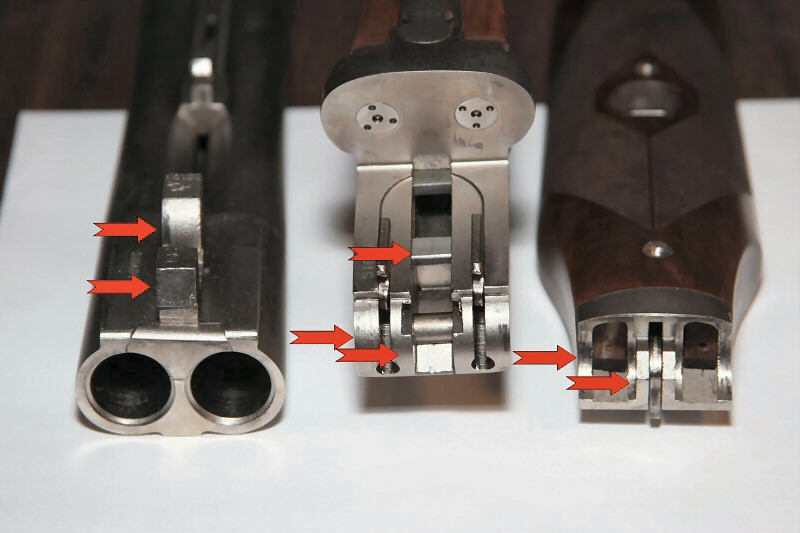
Stoeger Coach Gun Action
I used a Dremel tool and a damascus cutoff disc mounted on a 1/8" arbor to cut and grind the spring. I removed about 1/2 a turn at a time and then reassembled and tested it each time. I eventually had to remove about 3 turns of the spring to lighten it up enough to make it fairly easy to move the lever but still have a good lockup. I left the automatic safety feature as it was from the factory at the request of my son.
There are several places that the plating had to be removed and the areas polished to get the action to easily break open. I used the Dremel tool and a 15/16" x 1/4" thick medium cut Cratex wheel mounted on a 1/8" arbor to do the initial cut down and polishing. See the photo:
Bearing Points
You can see in the photo the two places that the latching mechanism contacts the lugs on the bottom of the barrel assembly. The shiney spots are where the lugs were rubbing against the latch. Those areas were polished. Also, you can see how the forward end of the action assembly rides against the corresponding metal part that is attached to the forearm. The 15/16" diameter Cratex wheel just about fit that radius perfectly. (You can just run a 1" Cratex wheel against an old file to get the size and shape you desire.)
After I had the parts slicked up so they would work a lot better I greased them up with valve grinding compound. I then opened and closed the action about 300 times stopping to apply more compound as necessary.
There is a small set screw on the bottom of the barrel assembly between the locking lugs that needs to be removed. This will release the extractor. I had to tap it out with a punch and hammer it was in there so tight. I used a strip of fine emery cloth and polished off the two pins that the extractor slides on. I think a lot of the binding came from that part alone!
I had previously fired two Winchester AA's and had the empty hulls handy for
the next step of chamber polishing. I used some Brownell's Flex Hone oil and a
three stone brake cylinder hone to do the initial chamber honing spun with my
variable speed drill. I would hone several oscillating stokes, clean the
chamber and check the fit of the empty hull and repeat as necessary. (I found
the chambers to be almost loose enough from the factory.) I then switched to a Brownell's Flex Hone chamber hone with the Flex Hone oil and polished each
chamber for a couple of minutes at medium speed.
(Some have used emory cloth or even steel wool wrapped around a wood dowel or
shotgun brush.)
When I was finished, everything was sprayed out, cleaned and then lubed with Tri-Flo and some gun grease.
Those shells will easily come out of the chambers now and the action will work with gravity alone! It's too bad that the manufacturer doesn't put in a little more finishing time.
I hope this will be of some help to others.
Dakota Doc Martin, SASS #21774 Dakota Doc Martin's Page